Create a campaign to send a one-off communication that is dynamic and targeted to engage your Loyalty members or a contact list.
You could use this to promote a movie, offer a reward for a prompt cinema visit, or let your members know when their favorite cinema is closed for maintenance.
Before you begin
- Familiarize yourself with the difference between dynamic, conditional, and static content.
- If you're going to reward your members with a Loyalty recognition, make sure you've completed the required Vista Loyalty setup.
Creating a campaign
To start creating a campaign, do one of the following:
- Hover over a movie on the home page and click Promote.
- Go to the Campaigns page and click Create campaign.
From there, campaign creation is broken into 4 steps:
-
Enter a name for the campaign.
- If you created the campaign from a movie on the home page, this will be automatically populated.
- (Optional) Enter a description.
-
Select the Send mode you want.
- Select Silent if you want to assign rewards to members without sending them a communication.
-
Select the Style of campaign you'd like to send.
- Loyalty Members: targets the members in your Vista Loyalty database.
-
Contact List: targets the people in one or more of your uploaded contact lists.
Tip! To maximise the effectiveness of your contact-list campaigns, include as many custom data points (for example, first name and last name) as you can.
- Select a Subscription category.
-
(Optional) Include a
control group.
- This section won't be visible if you set Send mode to Silent.
- Schedule when you'd like to send the email.
-
Enable and configure any Rewards you'd like to assign
to members who receive the email.
- Loyalty codes relate to recognitions in Vista Loyalty.
- You can select whether to apply the rewards to contactable moviegoers only, or all recipients of the campaign.
- Click Show advanced options.
- Add any Prerequisite campaigns.
-
Add
URL parameters
to track click-throughs from the campaign to your website in Google
Analytics or another analytics tool.
- This section won't be visible if you set Send mode to Silent.
- Add Campaign tags.
- Click Continue.
If you prefer to design your communication first, complete the steps in the Design section first, and then return here.
-
If you're prompted:
- Select one or more contact lists.
- Configure whether you'll exclude Loyalty members.
- Click Continue, and skip to the Design section below.
-
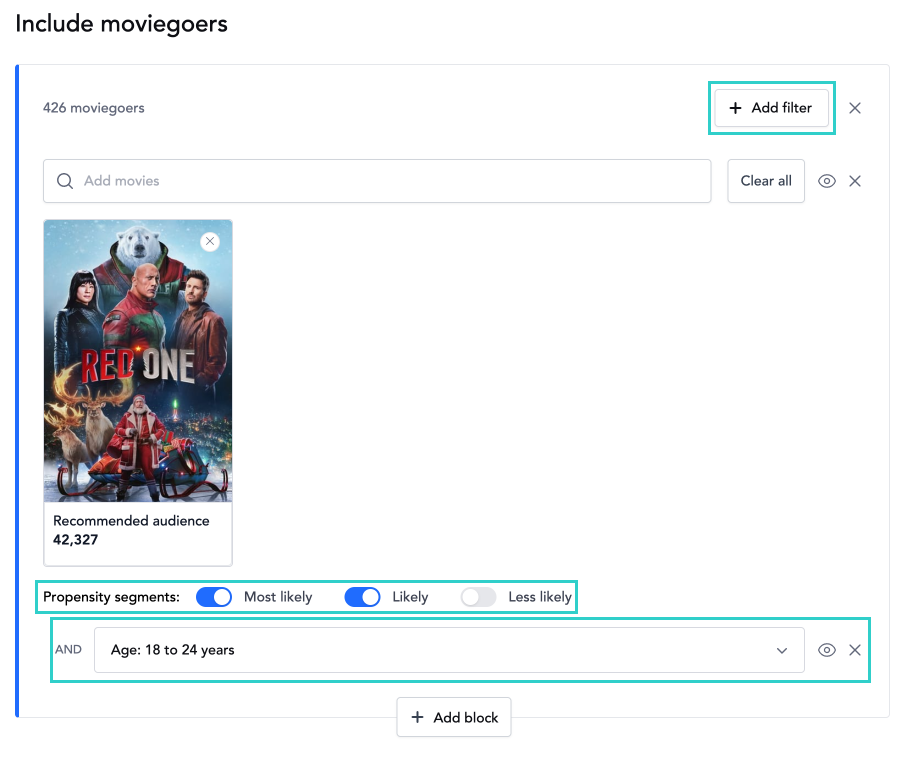
Build an audience using blocks and filters.
- If you created the campaign from a movie on the home page, a filter with that movie will already be added.
-
If you've created audiences in
Audience builder,
you can add one or more by clicking the audience button.
These will be added as new Include blocks
and use
OR logic,
expanding the audience.
- To add movies (with recommended audiences), add a Movie propensity filter to a block. You can either type the name of a movie into the search field or select a category such as Coming soon.
- Mouse over a movie card to see the movie's release date and your audience's levels of likely interest in it.
- Toggle on the propensity segments you want to send the communication to (for example, Likely).
-
If you want to narrow (more tightly target) the movie block’s audience, add more filters to the block. You can use any member custom fields you've created here and in the Include/Exclude moviegoers sections.
Tip!
- Make use of smart filters, which tap into our AI features, such as personas, projected CLV, and projected churn.
- In movie-related fields that appear in filters, you can also search for Vista's Head Office Film names.
-
As you build your audience, here and with the filters below, keep an eye on the moviegoer numbers at the top-left of blocks and the Audience profile in the sidebar (or the more detailed Audience metrics). These will help you decide on your most effective targeting strategy. Adjust your segment settings and filters accordingly.
Tip! If you mouse over the Contactable moviegoers bar at the top of the Audience profile, you'll see a breakdown of contactable, non-contactable, and control-group members.Note: If the Send mode of your campaign is set to Silent, you'll still see the number of Contactable moviegoers in the sidebar, but none of these will receive a communication, only the Loyalty rewards. -
If you want to expand the audience created by the movie
blocks, add Include filters.
-
As an alternative to setting specific filters, you can add Member lists, here and in the next step.
Note: If you add multiple member lists, EQ will ignore any duplicate members.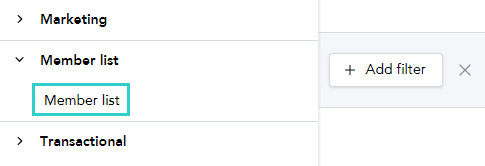
-
- Depending on your preference and how you set up the Include filters, you may also want to add Exclude filters to narrow (more tightly target) the whole audience.
- (Optional) Download your audience as a CSV file.
- Click Continue.
-
Select a template.
-
Movio created these for your organization during your onboarding
with Movio EQ.
-
Movio created these for your organization during your onboarding
with Movio EQ.
-
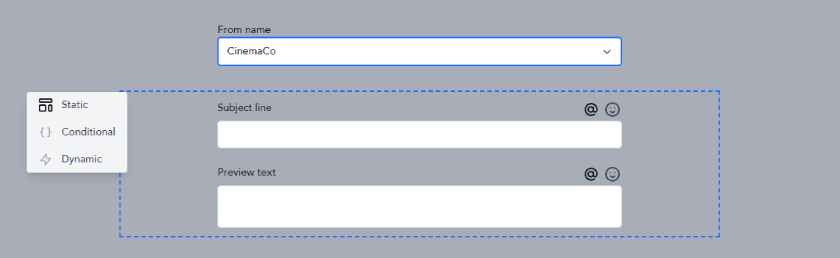
Set the From name you want to appear in the email.
- This can be static or conditional. If you want it to be conditional, move your mouse pointer to the left of the section, click the appropriate icon, and configure the conditions.
-
Enter a subject line.
- This can be static, dynamic, or conditional.
- You can enter a marker (for example, a person's first name) and emojis here.
- You can use any member custom fields you've created here and in other email-content areas by clicking the marker (@) icon.
- If you click on a marker after you've added it, you can change its formatting. The options will differ depending on the marker's data type.
-
Enter preview (preheader) text.
- This can be static, dynamic, or conditional, and you can include markers and emojis.
-
This appears in most email clients, along with the subject
line, before recipients open the email.
-
Drag, drop, and configure sections to design your email.
-
Depending on the section, you can configure it to be static, conditional, or dynamic. Move your mouse pointer to the left of the section, and click the appropriate icon.

Tips!
- If you have a section with multiple conditions and want to convert the first condition to a static section, click Static in the left-hand menu. Your conditions will be retained in case you want to switch back.
- If you want to convert a condition other than the first one to a static section, select the condition and click Make static in the right-hand menu. To switch back to the conditions you had, click Conditional in the left-hand menu. (If you click Make conditional in the right-hand menu, the section will be reset, and you'll lose your original conditions.)
- For static content: Optionally configure a background color in the sidebar.
-
For conditional content: Configure the conditions
in the sidebar, and then add images to the section for each
of the conditions.
-
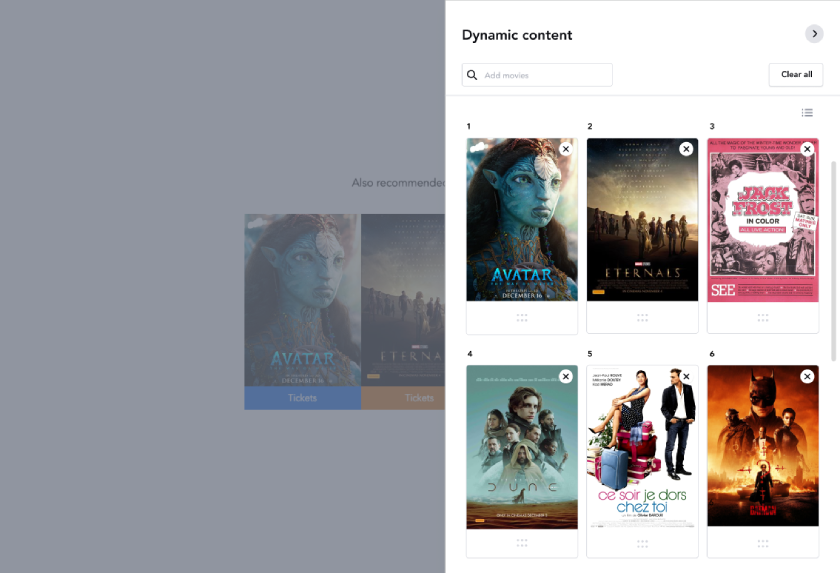
For dynamic content: View, search for, and organize the recommended movies in the sidebar. You can also navigate through movies in the section itself, reorder the cards by dragging and dropping, and click on images to customize their attributes.
The content that appears in the sections is initially from TMDB (The Movie Database). This content is also available on the Movie content page, where you can customize it for all of your campaigns.Note: When you reorder movies within a dynamic section, this will affect the whole email, not just that section. This is to prevent duplicate movies from appearing elsewhere in the email.
Make sure you have enough movies in the dynamic-content sidebar to cover the total number of movies that appear in sections in the email.
-
If you've configured the campaign to reward members with a Loyalty recognition or points, add some text to the design to let them know.
Tips!
-
Click the eye icon in the toolbar to see invisible
areas that you can add content to.
- If you don't want to customize sections each time you design an email, create your own reusable customized sections.
- For sections with text, get off to a good (and quick!) start with our AI feature First Draft.
-
Click the eye icon in the toolbar to see invisible
areas that you can add content to.
-
-
Preview the design in your browser to make sure everything is correct.
- Configure a simulated recipient for the preview and the test email below.
- Scroll through the recipients you've chosen to see what the message will look like for each one.
- Toggle between Desktop and Mobile to make sure the design looks correct for each device type.
-
Send a test email to yourself or a custom list of people.
Note: When you click in the field, only the email addresses that you, personally, have sent tests to before will appear. You won't see email addresses that other people in your organisation have sent tests to. The email addresses you do see are stored in your browser's cache, so if you clear the cache or change browsers, you will no longer see them. - Click Continue.
-
Review the details of your campaign to make sure they're correct.
- In particular, check the total number of Loyalty recognitions and points that could potentially be awarded as part of the campaign.
-
Once you're happy with the campaign, click Send.
Note:- If you've scheduled your campaign, it won't be sent until the time you scheduled.
- If your campaign's Send mode is set to Silent, rewards will be applied but no communication will be sent. You also won't see the engagement stats mentioned below.
When you return to the campaign after it's been sent, you'll see basic engagement stats, such as open and click rates. Click Campaign report to view the full report.
See also: